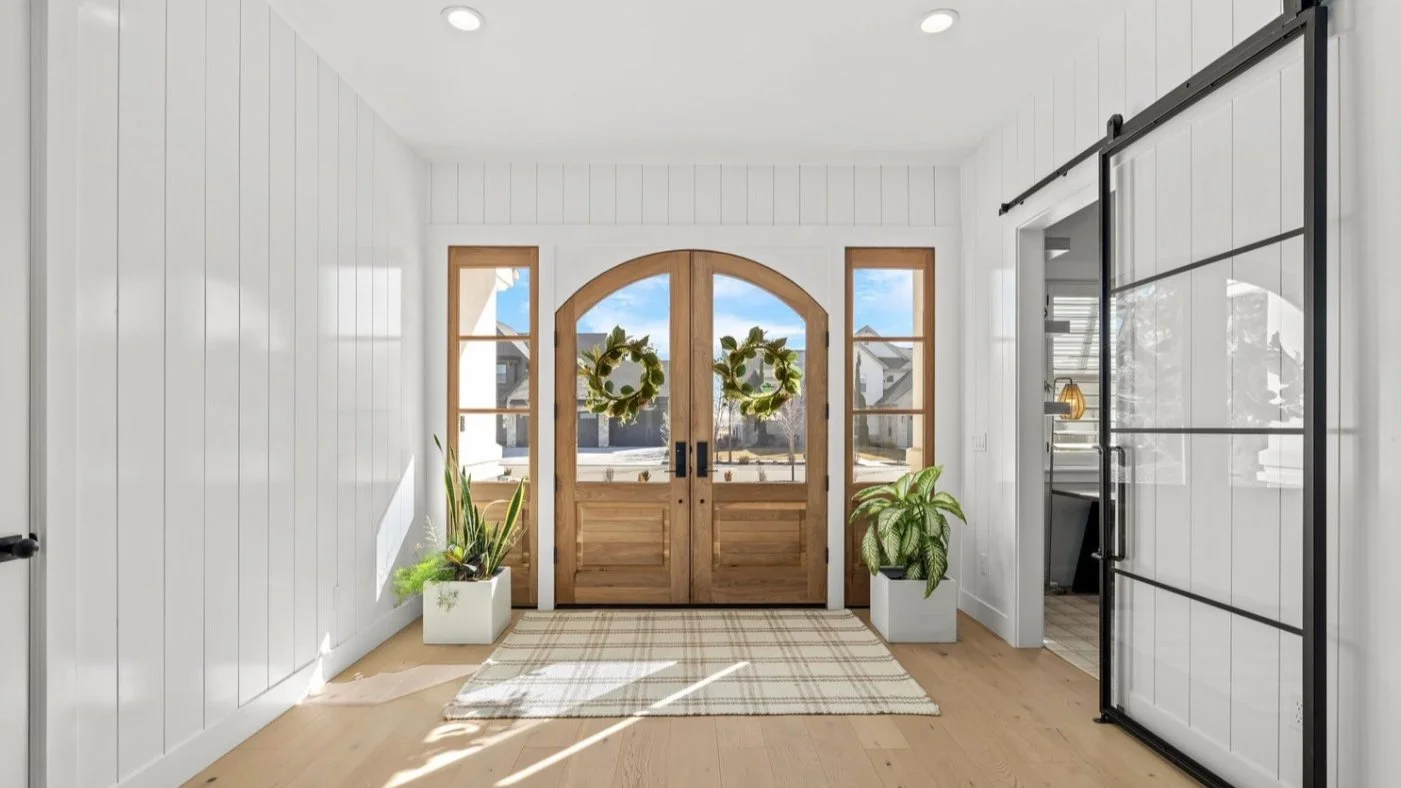
Purchasing a home is a significant milestone, and the final walkthrough is a crucial step in ensuring that your new property meets all expectations before the deal is sealed.
Understanding the Final Walkthrough
The final walkthrough is typically scheduled within 24 to 48 hours before closing. While not legally required, it's highly recommended as it allows buyers to verify that the property's condition hasn't changed since the last visit and that any agreed-upon repairs have been completed.
Why It's Important
Verify Repairs: Ensure that all requested repairs have been made satisfactorily.
Confirm Inclusions: Check that all items included in the sale, such as appliances and fixtures, are present.
Assess Property Condition: Confirm that the property is in the agreed-upon condition, free of unexpected damage or issues.
Preparing for the Walkthrough
Before heading to the property, gather the following:
Purchase Agreement: To reference included items and agreed-upon repairs.
Inspection Report: To verify that identified issues have been addressed.
Repair Receipts: Proof of completed repairs.
Checklist: A comprehensive list of items to inspect.
Conducting the Walkthrough
Approach the walkthrough methodically, inspecting each area of the property:
General Interior Inspection
Walls, Ceilings, and Floors: Look for new cracks, stains, or damage that may have occurred since your last visit.
Doors and Windows: Open and close all to ensure they operate smoothly and lock securely.
Lights and Electrical Outlets: Test all switches and outlets. A phone charger can be handy for testing outlets.
HVAC Systems: Turn on heating and cooling systems to ensure they function properly.
Kitchen and Appliances
Appliances: Test all included appliances—oven, stove, refrigerator, dishwasher, microwave—to confirm they work as expected.
Plumbing: Run water in sinks and check under cabinets for leaks.
Garbage Disposal: Turn it on to ensure it's operational.
Bathrooms
Fixtures: Test faucets, showers, and toilets for proper function and leaks.
Ventilation: Ensure exhaust fans work effectively.
Water Pressure and Temperature: Check for adequate water pressure and hot water availability.
Laundry Area
Washer and Dryer: If included, run a short cycle to confirm they operate correctly.
Utility Connections: Inspect for any leaks or issues with water and electrical connections.
Garage and Exterior
Garage Door: Open and close to ensure smooth operation. Confirm that remotes are provided.
Exterior Structures: Inspect decks, patios, sheds, and fences for damage or missing components.
Landscaping: Check that the yard is maintained and that any agreed-upon landscaping remains intact.
Attic, Basement, and Crawl Spaces
Access Points: Ensure easy access to these areas.
Signs of Moisture: Look for dampness, mold, or water damage.
Pest Evidence: Check for signs of rodents or insects.
Safety Features
Smoke and Carbon Monoxide Detectors: Test all to ensure they function.
Security Systems: If included, verify that they operate and that codes are provided.
Common Issues to Address
Be vigilant for the following potential problems:
Missing Items: Ensure that all items specified in the contract are present.
Unfinished Repairs: Confirm that all agreed-upon repairs are completed to satisfaction.
Leftover Debris: The property should be clean and free of the seller's belongings unless otherwise agreed.
New Damage: Look for any damage that may have occurred since the last inspection.
What to Do If Issues Arise
If you discover problems during the walkthrough:
Document Everything: Take photos and notes of any issues.
Communicate Promptly: Inform your real estate agent immediately to address concerns before closing.
Negotiate Solutions: Options may include requesting repairs, financial credits, or delaying closing until issues are resolved.
Final Tips
Bring Your Agent: They can provide guidance and ensure nothing is overlooked.
Take Your Time: Don't rush the process; thoroughness is key.
Use a Checklist: Helps ensure all areas are inspected systematically.
King & Edge Real Estate Agents in Boise, Idaho
As experienced Boise real estate agents, we are honored to have the opportunity to serve you and be a part of your real estate journey. Let us guide you towards a successful and rewarding experience, where your goals become our goals, and your vision becomes a reality. Contact us today and discover the unparalleled service and expertise that sets King & Edge Real Estate apart as we help you sell your home in Boise or find your place to call home.
// View Our Portfolio of Listings
Jordyn Majors Boise Real Estate Agent
Jordyn, a second-generation Realtor with over 10 years of residence in various Idaho locales, possesses extensive knowledge of all that Boise and its surrounding areas have to offer. Her love for Boise and passion for helping others have made her a go-to expert for diverse living experiences, from urban vibes to mountain retreats. Before transitioning to real estate, she gained experience as an administrative coordinator for a leading brokerage in Treasure Valley.


